DIY Builds
Photo by cottonbro studio Pexels Logo Photo: cottonbro studio

How quickly can I learn Rhino?

The total time used to teach Rhino can be as little as two and a half weeks or as long as a quarter. Once students see how it works, they can practice and create designs with each new tool.

How close to your house can you put a shed?

How Close To A House Can A Shed Be? You must avoid building a shed too close to your house. Generally, a shed must be at least 10 feet (3m) away...

Read More »
What is the cheapest foundation to build a house?

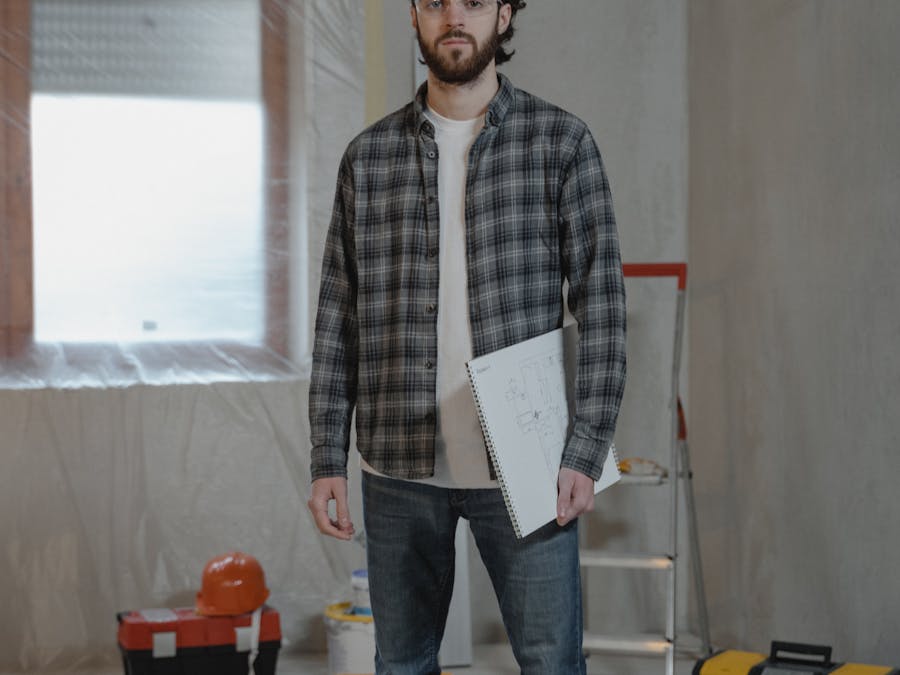
slab foundations Price: Generally, slab foundations are your cheapest option when it comes to foundations, an excellent choice if budget is front-...

Read More »
Are shed plans easy to follow?

These are! They guide you every step of the way to complete your dream shed.

Learn More »

Rhino Curriculum Guide

This guide provides curriculum ideas and other helpful suggestions for teaching with Rhino. See this video by Bob Koll on how to use this and other Rhino educational resources. Back to the Rhino in Education site. I am presently spending time to clean up a few links and otherwise update the document.

Table of Contents

Overview

This guide provides curriculum ideas and other helpful suggestions for computer graphics, drafting, design, engineering, manufacturing, 3D design and art instructors who want to incorporate Rhinoceros® NURBS modeling for Designers into their program. The guide includes curriculum ideas as well as a complete sample 15 week and 10 week syllabus. Use as much or as little from this guide as you need, or change it to fit your particular needs. This guide gives you a starting point for teaching 3D modeling. If you choose to customize the guide, the original document is in Microsoft Word format and is included as a download (not available as a single download yet). Rhino can be used in almost any curriculum that teaches 2D layout or 3D modeling. This guide uses design and problem solving activities as well as step-by-step instruction to teach NURBS modeling. Rhino is a powerful design and visualization tool you can use with most computers running Windows. Use it to create designs and 3D images that would be difficult to make or take a very long time with other CAD or drawing programs. Rhino lets students create models quickly without having to go through weeks of instruction to make something that is precise and looks realistic. Many students can create simple models in less than ten minutes after some demonstration and instruction. Students can continue beyond modeling. Once a model is completed in Rhino, it can then be used with other applications to further enhance a project. For example, students can create a model and export the file to a CNC machine for prototyping or manufacturing. Or they can render the model and use it on web pages, newsletters, and presentations. Using Rhino plug-ins like Flamingo, Penguin, and Bongo, the student can render, illustrate, and animate the model. In addition, models can be exported to most other design, rendering, and animation software applications. The biggest decision to make is your approach to teaching Rhino. We will discuss two approaches in this document: technical proficiency and technical adequacy.

Classroom Setup

Curriculum Approach

Technical Proficiency (Skills Based)

Technical proficiency is learning NURBS modeling as a subject using Rhino. It requires a structured approach to learning. Each command and technique is presented and practiced on a daily basis. The following sample schedule is based on using the Rhino Level 1 Training Manual as a textbook. Students will become familiar with most of the commands available in Rhino before they begin their design projects. The sample schedule can be modified to take from four to six weeks to cover the basics of Rhino. This approach allows for mastery of the program with fewer projects. While this approach requires more structured class time to learn the software, they will have a broad range of skills in which to complete any project. Sample Schedule Week Subject Training Guide Section 1 Rhino basics, create two-dimensional objects, simple editing commands Chapter 2 & 3 2 Precision modeling Chapter 4 3 Editing Chapter 5 & 6 4 Solids modeling, surface modeling Chapter 7, 8, & 9 5 Importing and exporting, dimensioning, printing, rendering Chapter 10, 11, 12 & 13 6–18 Projects (See Sample Activities) Technical adequacy is using Rhino as a tool. It requires students to learn only those commands that will help them finish a project. Only the most frequently used commands and techniques are presented. Other commands will be learned as needed (just-in-time learning). With this approach, students are involved in more projects and learn how to model in Rhino through problem solving activities. The following sample schedule represents the most common commands used to make most of the objects students will model. There are advanced tools that will let them get greater precision and accuracy with their design, but these can be left for later. Demonstrating commands needed for each project can take as little as five minutes. The total time used to teach Rhino can be as little as two and a half weeks or as long as a quarter. Once students see how it works, they can practice and create designs with each new tool. It is important that students not only create designs that are assigned to them, but also be allowed to make their own. Also, for the first few weeks, along with teaching Rhino, some lessons on fabrication machine operation and safety procedures are helpful. The first few projects may be focused on various fabrication techniques, allowing students to see how each machine works. Notice that this approach lets you introduce students to a wide variety of commands in the first two weeks and gets them started with modeling very quickly. With this method, you should use the Rhino Level 1 Training Manual as a reference. The Rhino User Guide is complete with tutorial models that build on the introductory tutorials below. Day Project Training Guide Section 1 Create a Castle 3D Solids, Move/Copy/Rotate 2 Design a Logo Extrude, Color, Boolean 3 Design a Chair Sweep, Loft 4 Arrow Accuracy Coordinates, Extrude, Revolve 5 Screw Driver Revolve, Array, Boolean Difference 6 Rubber Duck Point editing, trim, blend, join

Design Activity Process

Can you make money selling wood crafts?

Selling wood furniture is a great way to start making money using your woodworking skills. For example coffee tables, live edge wood furniture, and...

Read More »
What is gable roof type?

Gabled roofs are the kind young children typically draw. They have two sloping sides that come together at a ridge, creating end walls with a...

Read More »

Design Process Workflow (two student groups is ideal) 'Drop Dead Dates' need to be considered as part of the framework for project progress and completion. All of the sample activities are based on the following design problem format (or similar format): Problem statement—Give a scenario and the task students must solve. Limitation/parameters—These are the things like materials used, time, cost, boundaries of the design solution and other information affecting the final design. Brainstorm solutions—Sketchy, hand drawn ideas. Set a minimum number expected. Select best one—Should provide rationale of their selection. Develop idea/prototype/finalize idea—This is the just do it phase. Test/evaluate solution—Should provide an analysis on the design and any conclusions. Redesign/retest if possible—Time consuming, but valuable experience. Presentation—Finished assignment presented to the class.

Design Loops

Organizing the Activity

Instructor Student Arrange students into groups (details to follow). Students get into groups and go to assigned areas. Instruct students on the design challenge (give them the problem handout). Make sure they understand the parameters of the designs (See Sample Activities section). Read the handout. Instruct them to begin drawing ideas on paper. Students Brainstorm Designs Instruct them to model in Rhino. Students begin drawing their designs on paper and modeling their products on the computer. Review objects with students to determine

if they meet the design parameters.

If not, have them fix. Peer review (details to follow). Students analyze their material against the parameters to insure it meets the criteria.

Instructional Material

Display examples of similiar products.

Find online videos of engineering concept.

Try to include items of different shapes, materials, and sizes.

Search online for image examples.

Base projects on objects the students have.

Group Collaboration Model

Working in engineering is about working on a team and working on a team that has to work with other teams. This mode of working can be modeled in the classroom in various ways. Here are two to consider: Working in teams on part of a classroom project. Each team working on a different section of the design. Working on teams as a multi-school project. Each class is its own team working with teams from other schools to complete a project.

Project Personalization

An effective model to allow some design process and at the same time be involved with more technically advanced projects is to use a model made up of component parts. Each student chooses to model one or more of the parts. This part is either replicated or redesigned as a new / improved part of the finished model. This part is then assembled with parts from other students to complete the model. This can be quite exciting and instructional for students. This is a good way to control the complexity of projects.

Multi-Level Class

When your class includes students with computer drawing experience varying from basic to advanced, you will have to do some grouping. Students with similar experience form groups and work together as a team. Students can be separated into levels—basic, intermediate, and advanced. The example below is based on the bottle design activity (see sample activities). Minimum objectives for each group are shown in the following table: Levels Rhino Capabilities Used

(Basic Navigation and following:) Type of Bottle

(Required) Other Projects

(Or other objects chosen) Basic Line/Curve, Solid primitives,

Boolean operations, Revolve, Rendering Any bottle Glasses filled with a liquid Intermediate All above and the following:

Extrude, Sweep, Transparent

materials rendering Bottle with

wall thickness All above and following:

Table

Lofts, Control points editing, Surface

tools, Text tools and

Rendering Irregularly shaped

bottle with label All above and following:

Interior walls

Floor and windows

Grading Rubric

This grading rubric is included to help students understand what is expected and the critical parts of their project development. It reflects on instructor's bias toward achieving excellence. The grading scale can be interpreted as 4.0=A. 3.0=B, 2.0=C, 1.0=D, 0.0=F. In this scale, half points could be interpreted as pluses or minuses. This rubric is organized into Groups which have different sections that can be applied to different project types: Group A - Project Process planning - All projects Time Frame - All projects Group C - Fabrication Safety Check and pre-startup inspection Making Inspection Part Fit and Function

What is the best walls for a garage?

Plywood, medium-density fiberboard (MDF) and oriented strand board (OSB) are expedient and low-cost solutions for garage walls. They can be...

Read More »
What color is best for fence?

Gray is a classic neutral that goes well with every style of home. It's a versatile color that pairs well with everything from edgy modern style...

Read More »
Can I build my own shed?

Yes, with the right plans you can build your dream shed.

Learn More »

Group D - Final Presentation of Project Written Speaking

Ideas for Design Assignments

One of the best ways to get students to learn how to use Rhino is to have them make real world objects. Encourage them to figure out how to break down an object into various modeling operations and then do it with precision. Here are some examples to give to students so they can practice their skills: Entry-Level Kleenex box Pen/pencil Pop can/bottle Dice (4, 6, 8 sided) Flower vase Stool Table with objects on top of it Drinking cups Christmas ornaments Squirt bottle Screwdriver, nails, clamps Jewelry box DVD case Radio, speakers Table or desk lamp Intermediate Tube of toothpaste, toothbrush Computer, monitor, printer Headphones School desk, office chairs Watch, alarm clock DVD player, stereo Dishes/pots & pans Stove/dishwasher, Appliance Lipstick, mascara, perfume bottle, Sculpture piece Overhead projector Hammer, wrench, pliers iPod or Android Music Player Calculator Electric wheel chair Phone / Camera Sophisticated Car, truck, train Roller blades Ship/boat Bicycle Animals Sunglasses, safety glasses Tennis shoe Airplane, helicopter, Drone Computer mouse, FLash drive Piano, musical instruments Skull/bones Child’s pull toy Hat, helmet Humanoid Cell phone, remote control, Robot

STEM - Engineering White Papers & Websites

Which is better fiberglass or epoxy?

Stronger. Epoxy resin can be as much as 35% stronger than the resin used on a fiberglass board. This makes an epoxy board an ideal choice for those...

Read More »
How much is a portable house that builds itself?

The structure costs $27,000. The ready-to-use homes have been designed to offer flexibility to homeowners, said British architect David Martyn, who...

Read More »
Are shed plans easy to follow?

These are! They guide you every step of the way to complete your dream shed.

Learn More »
What smell mice dont like?

Peppermint oil, cayenne pepper, pepper and cloves. Mice are said to hate the smell of these. Lightly soak some cotton balls in oils from one or...

Read More »
Can I build my own shed?

Yes, with the right plans you can build your dream shed.

Learn More »
What is the most popular shed size?

The 3 Most Common Shed Sizes Small (10”x12” or 8”x12”): Do you have a green thumb — or have a spouse that thinks they do? ... Medium (10”x16” or...

Read More »